Easy Pine Cone Christmas Crafts for Kids
Turn pine cones into little trees, snowy ornaments, and critters with paint, glue, and glitter. A cheap nature craft the whole family can do together.
Ages4+Time45 minutes + drying
What You Need
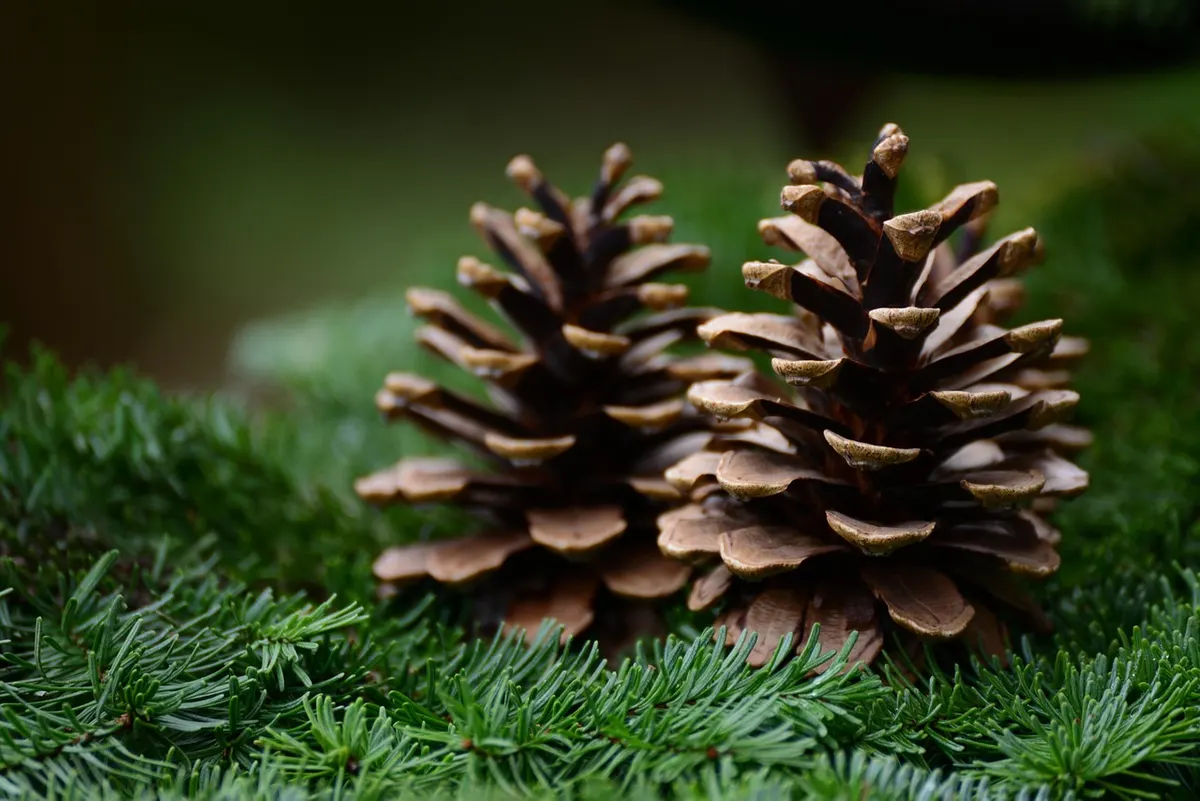
Pine cones make great ornaments and mini trees with just a little paint and glue. Collect them on a walk, then decorate at the kitchen table.
Step-by-Step Instructions
- Clean the pine cones, dry them fully, and cover the table with newspaper. An adult handles the oven step.
- Dab white paint on the tips of the scales for a snowy look.
- For mini trees, paint a pine cone green and let it dry.
- Dot glue on the green cone and add pom-poms or glitter as lights.
- Tie twine around the top of each cone to make a hanging loop.
- Let everything dry for at least an hour.
- Hang them on the tree or set a few in a bowl as table decor.
Tips for Little Hands
- Use a sponge dabber for kids who find brushes tricky.
- Wear a smock. Acrylic paint stains clothes.
- Keep glitter on a tray to catch the mess.
- Small pom-poms are a choking risk for toddlers.
Make It Your Own
- Glue on googly eyes and felt antlers for reindeer.
- Roll a cone in peanut butter and birdseed for a bird feeder.
- Fill a glass jar with painted cones as a centerpiece.
Frequently Asked Questions
How do you clean pine cones for crafts?
Soak them in warm soapy water for 20 minutes, rinse, then bake at 200°F for about an hour on foil to dry and kill bugs.
What paint works best on pine cones?
Acrylic craft paint covers well and dries fast. Dab it on the tips instead of painting every layer.
How do you make pine cones look snowy?
Dab white paint on the scale tips, then sprinkle with glitter or fake snow while it is still wet.